Integrations - Splunk - Using AWS S3 (Part 2 of 2)
Print
Created by: Chris Black
Modified on: Thu, 2 Sep, 2021 at 9:14 AM
Description
Integrating AVANAN with AWS S3 for Splunk logs - Part Two
Requirements
- An admin login to Amazon AWS
- An admin login to the MPmail Avanan tenancy
- An admin login to Splunk
The Process
- Go to AWS IAM: https://console.aws.amazon.com/iam/home#/home
Note: The AWS configuration is similar to part 1, but the Splunk AWS app requires far more permissions that Avanan. Therefore, to limit Avanan’s access to your S3 environment, you’ll need to create a new user, group, policy, and role to use on Splunk. - Click on Users > Add user

- Select a name and enable “Programmatic access”, click “Next: Permissions”

- Click on “Create group” (or the right group if already created)
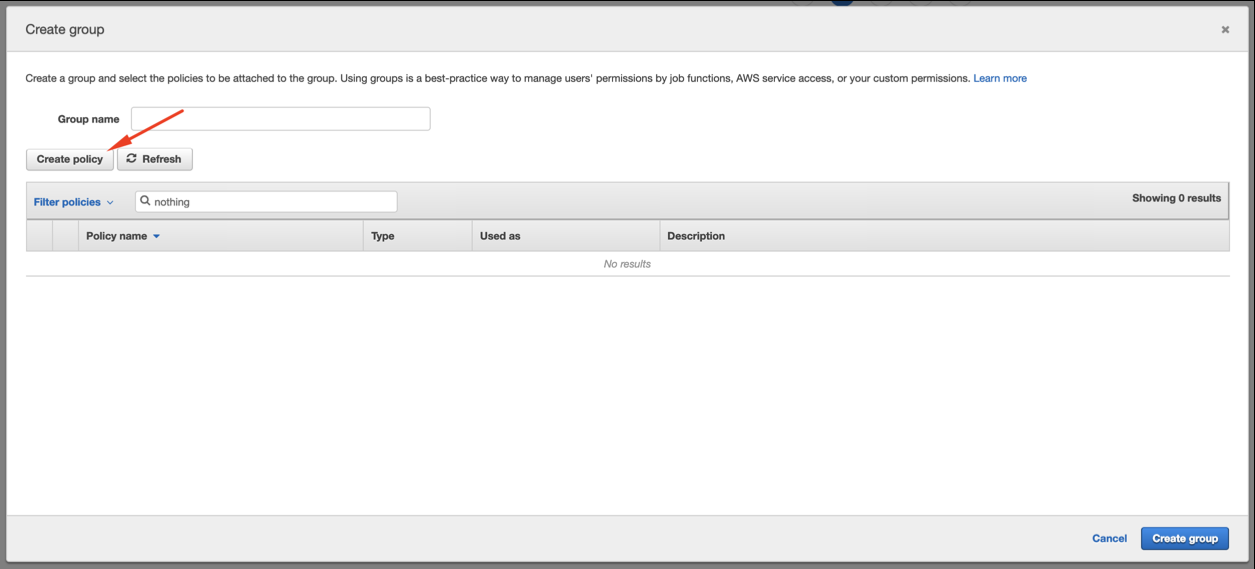
- On the new tab, click on JSON and copy this over:
{
"Version": "2012-10-17",
"Statement": [
{
"Effect": "Allow",
"Action": [
"sqs:GetQueueAttributes",
"sqs:ListQueues",
"sqs:ReceiveMessage",
"sqs:GetQueueUrl",
"sqs:SendMessage",
"sqs:DeleteMessage",
"s3:ListBucket",
"s3:GetObject",
"s3:GetBucketLocation",
"s3:ListAllMyBuckets",
"s3:GetBucketTagging",
"s3:GetAccelerateConfiguration",
"s3:GetBucketLogging",
"s3:GetLifecycleConfiguration",
"s3:GetBucketCORS",
"config:DeliverConfigSnapshot",
"config:DescribeConfigRules",
"config:DescribeConfigRuleEvaluationStatus",
"config:GetComplianceDetailsByConfigRule",
"config:GetComplianceSummaryByConfigRule",
"iam:GetUser",
"iam:ListUsers",
"iam:GetAccountPasswordPolicy",
"iam:ListAccessKeys",
"iam:GetAccessKeyLastUsed",
"autoscaling:Describe*",
"cloudwatch:Describe*",
"cloudwatch:Get*",
"cloudwatch:List*",
"sns:Get*",
"sns:List*",
"sns:Publish",
"logs:DescribeLogGroups",
"logs:DescribeLogStreams",
"logs:GetLogEvents",
"ec2:DescribeInstances",
"ec2:DescribeReservedInstances",
"ec2:DescribeSnapshots",
"ec2:DescribeRegions",
"ec2:DescribeKeyPairs",
"ec2:DescribeNetworkAcls",
"ec2:DescribeSecurityGroups",
"ec2:DescribeSubnets",
"ec2:DescribeVolumes",
"ec2:DescribeVpcs",
"ec2:DescribeImages",
"ec2:DescribeAddresses",
"lambda:ListFunctions",
"rds:DescribeDBInstances",
"cloudfront:ListDistributions",
"elasticloadbalancing:DescribeLoadBalancers",
"elasticloadbalancing:DescribeInstanceHealth",
"elasticloadbalancing:DescribeTags",
"elasticloadbalancing:DescribeTargetGroups",
"elasticloadbalancing:DescribeTargetHealth",
"elasticloadbalancing:DescribeListeners",
"inspector:Describe*",
"inspector:List*",
"kinesis:Get*",
"kinesis:DescribeStream",
"kinesis:ListStreams",
"kms:Decrypt",
"sts:AssumeRole"
],
"Resource": [
"*"
]
}
]
}
- Click on Review Policy
On the next screen, select a policy name and click on Create Policy:

- After the policy is created, go back to the previous tab and click Refresh.
Select the policy you just created, give the group a name and click on Create group.

- Back to the “Add user” screen, confirm that the group you just created is selected and click on “Next: Tags”

- Add the necessary Tags (in accordance with your environment directives) and click on “Next: Review”
Confirm all the configurations and click on “Create user”

Download the CSV or copy the Access Key and Secret access key somewhere safe.
It will be used to configure Splunk. This information won’t be available again.
Close.
- Click on Roles and on “Create role”
Select Another AWS Account
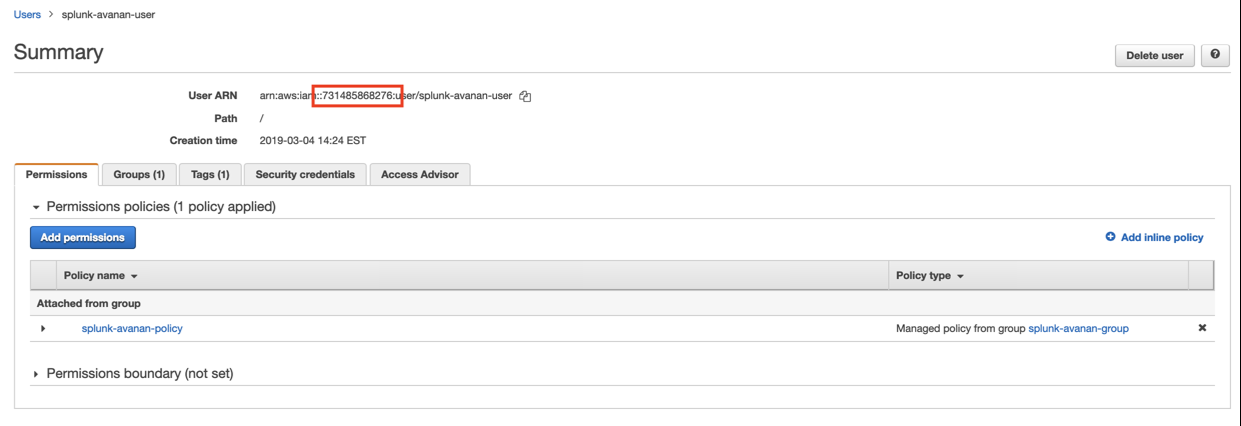
Insert the 12 digit number of your account and click on “Next: Permissions”

Note: to find the 12 digit number, open the user on another screen:
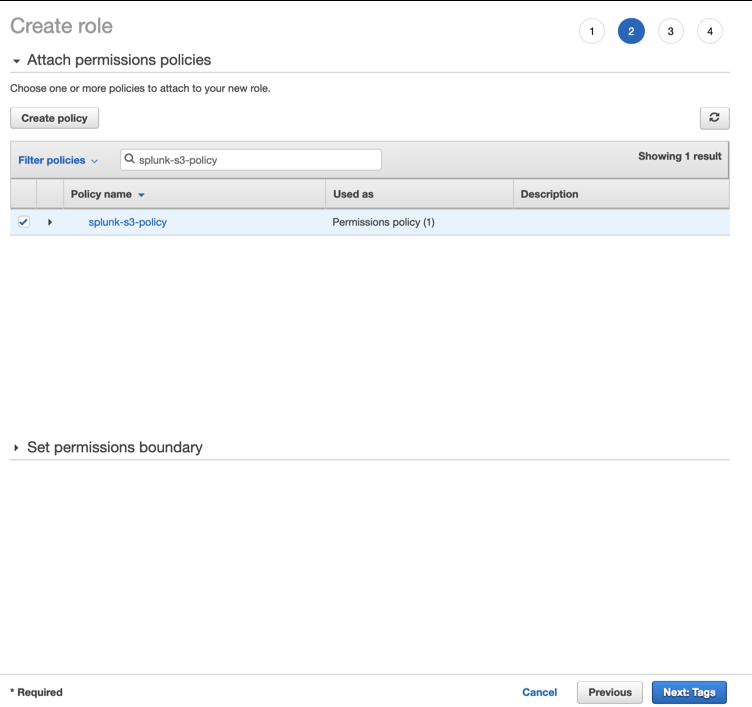
- Select the policy you created, click on Next: Tags
- Add the necessary Tags (in accordance with your environment directives) and click on “Next: Review”
Select a role name and click on Create Role

- Search for the role you just created, click on its name.

- Copy the role ARN

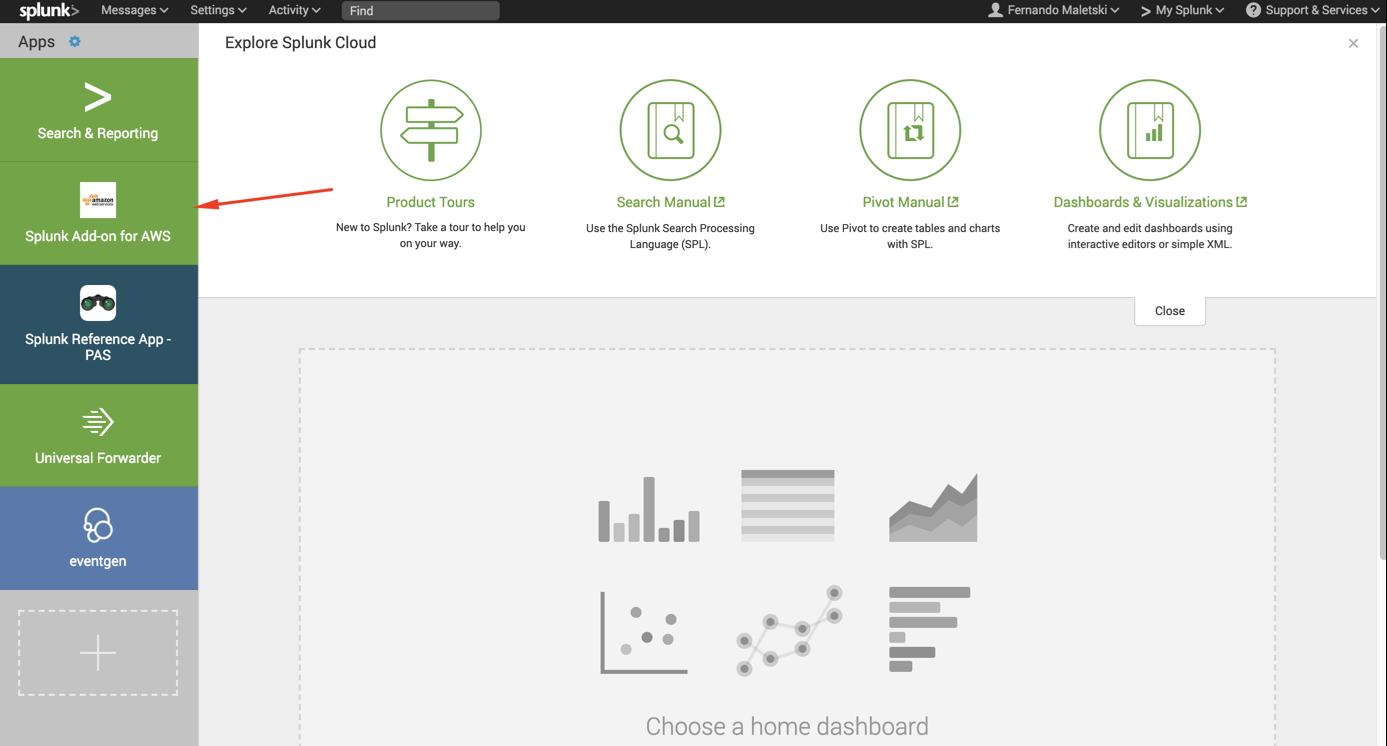
- Now on Splunk, install the AWS add-on if you haven’t already, by clicking on the big + and searching for it:
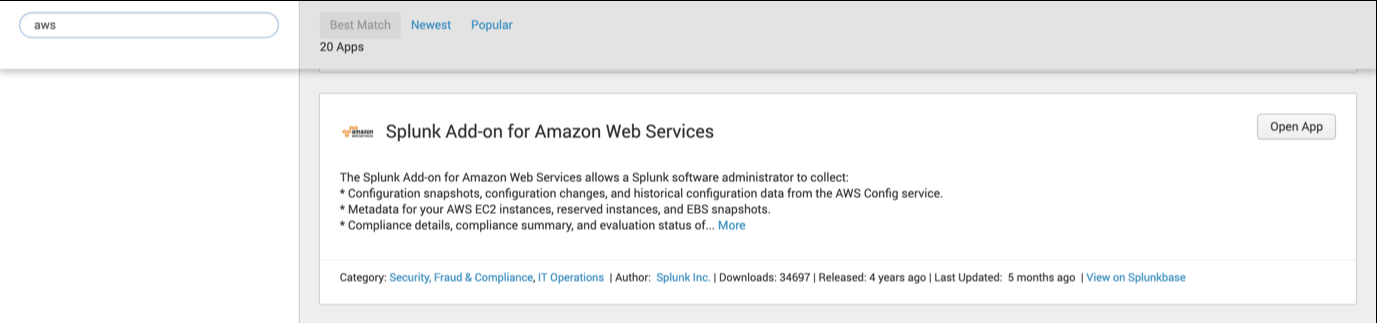
- Click on Open App after it is installed, or on Splunk Add-on for AWS on the main screen
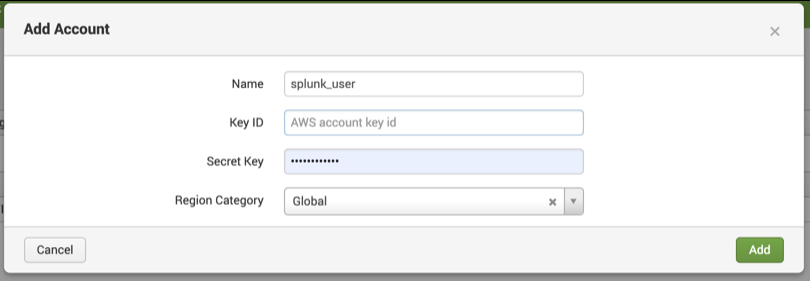
- Click on Configuration > Account > Add and configure it with the Key ID and Secret Key from the CSV you served when the user was created, click on Add:
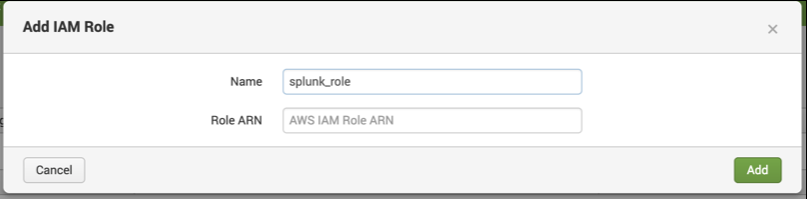
- Click on IAM Role > Add and configure it with the Role ARN you copied previously.
- Click on Inputs > Create New Input > Custom Data Type > Generic S3

- Select a name for the Input, the AWS Account and the Assume Role you configured above, the S3 Bucket Avanan is uploading the logs, a start datetime (ideally, a few minutes before you enabled Splunk on Avanan as part of Part 1).
Click on the arrow to show the Advanced Settings and set the Polling Interval to 300 s (5 minutes) as Avanan will upload the logs every 5 minutes.
Note: We also upload the logs every time they reach 5 MB before 5 minutes (unlikely).
Click Save.
 And done. The Splunk logs are now being read from the S3 bucket where Avanan is uploading them.
Chris is the author of this solution article.
Did you find it helpful?
Yes
No
Send feedback Sorry we couldn't be helpful. Help us improve this article with your feedback.